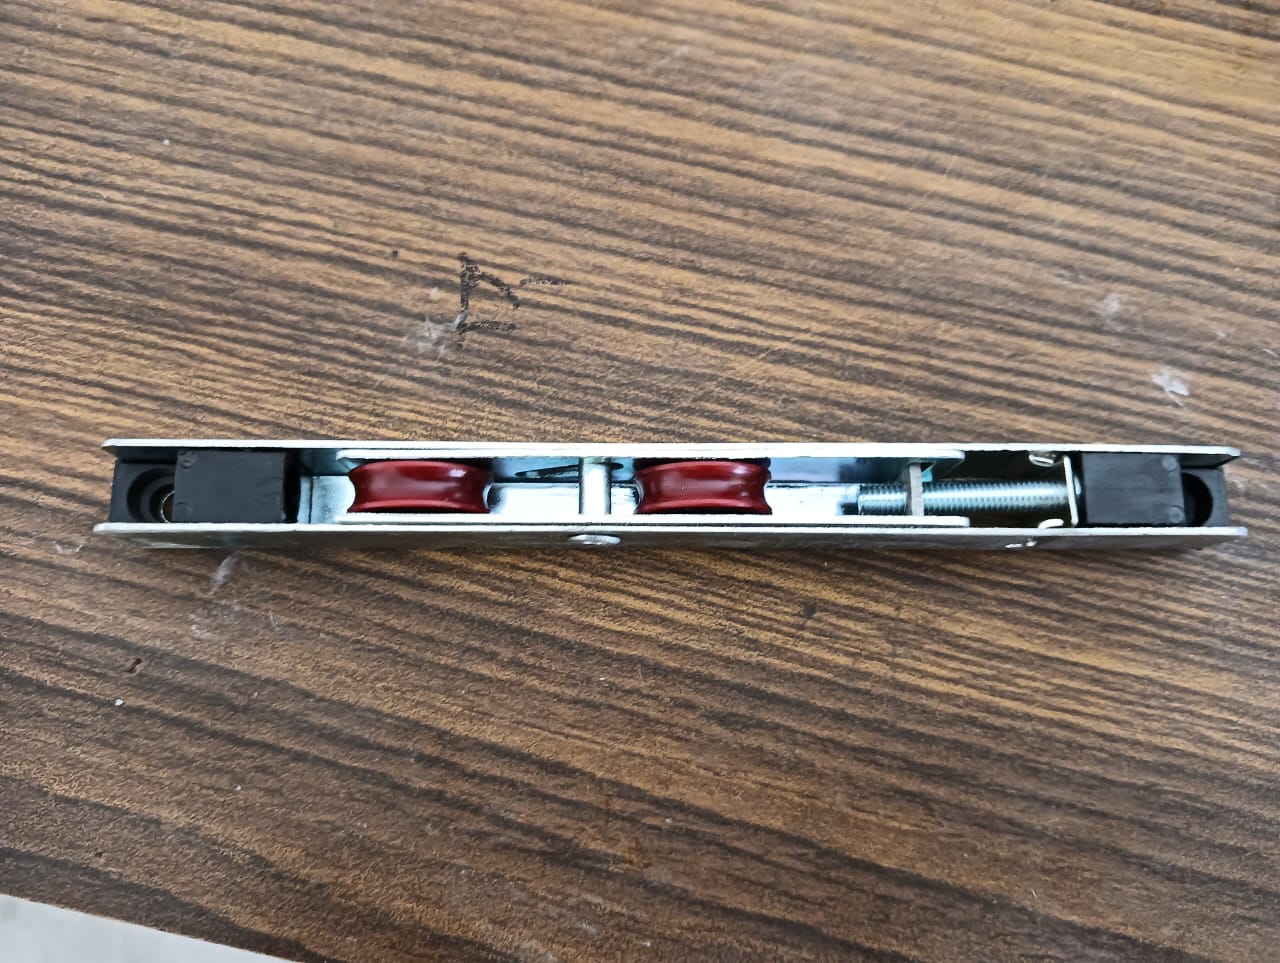
How to Install uPVC Sliding Door Rollers for Smooth Operation
Sliding doors are a popular choice in modern homes, offering easy access to outdoor spaces and enhancing natural light. However, the smooth operation of your uPVC sliding doors depends largely on the quality and condition of the rollers. Over time, worn-out or improperly installed rollers can cause doors to become stiff or difficult to operate. In this guide, we’ll walk you through the steps to install uPVC sliding door rollers for effortless movement and long-lasting performance.
Tools and Materials You’ll Need:
- New uPVC sliding door rollers (dual or single depending on your door)
- Screwdriver (Phillips or flathead)
- Allen key or wrench (depending on the roller type)
- Measuring tape
- Lubricant (silicone spray for smooth rolling)
- Clean cloth
Step 1: Remove the Sliding Door
To start, carefully remove the sliding door from the track. This step will vary depending on the door model, but most sliding doors can be removed by first lifting them upwards to release them from the bottom track. You may need an extra pair of hands for this if the door is heavy.
Step 2: Locate the Existing Rollers
Once the door is removed, lay it flat on a soft surface to avoid damage. The rollers will be located on the bottom edge of the door, usually secured by screws. Inspect the existing rollers for wear or damage, and take note of how they are positioned before removing them.
Step 3: Remove the Old Rollers
Use your screwdriver to loosen and remove the screws holding the old rollers in place. Once the screws are removed, carefully slide the rollers out of the door frame. If the rollers are stuck due to dirt or corrosion, gently tap them out using a mallet or similar tool.
Step 4: Install the New Rollers
With the old rollers removed, it’s time to install the new ones. Place the new rollers into the slots on the bottom of the door, ensuring they are aligned correctly. Secure the rollers in place with the screws, making sure they are tightly fastened.
Step 5: Adjust the Roller Height
Most uPVC sliding door rollers are adjustable. Use an Allen key or wrench to adjust the height of the rollers to ensure the door sits perfectly in the track. The door should be level and move smoothly without wobbling. Adjust the rollers until you achieve the desired fit.
Step 6: Clean the Track and Lubricate
Before placing the door back into the track, clean the track thoroughly to remove any debris, dust, or grime. Use a clean cloth to wipe it down. You can also spray a silicone-based lubricant onto the track to enhance the smoothness of the door’s movement.
Step 7: Reinstall the Sliding Door
Now that the rollers are installed and the track is clean, lift the sliding door back into place. Insert the top part of the door into the upper track first, then guide the bottom of the door onto the lower track. Make sure the door is securely seated.
Step 8: Test the Door
Slide the door back and forth to test its operation. It should move smoothly and quietly along the track. If you notice any issues, make further adjustments to the roller height or recheck the alignment of the door.
Final Tips:
- Regularly clean the door tracks to prevent dirt buildup that can hinder smooth movement.
- Periodically lubricate the rollers and track for long-lasting performance.
- Ensure that the door’s weight is evenly distributed on the rollers to avoid excess strain.
By following these steps, you can easily replace or install uPVC sliding door rollers, ensuring your doors glide effortlessly for years to come. A smooth-operating sliding door not only enhances convenience but also improves the overall look and feel of your home.

